
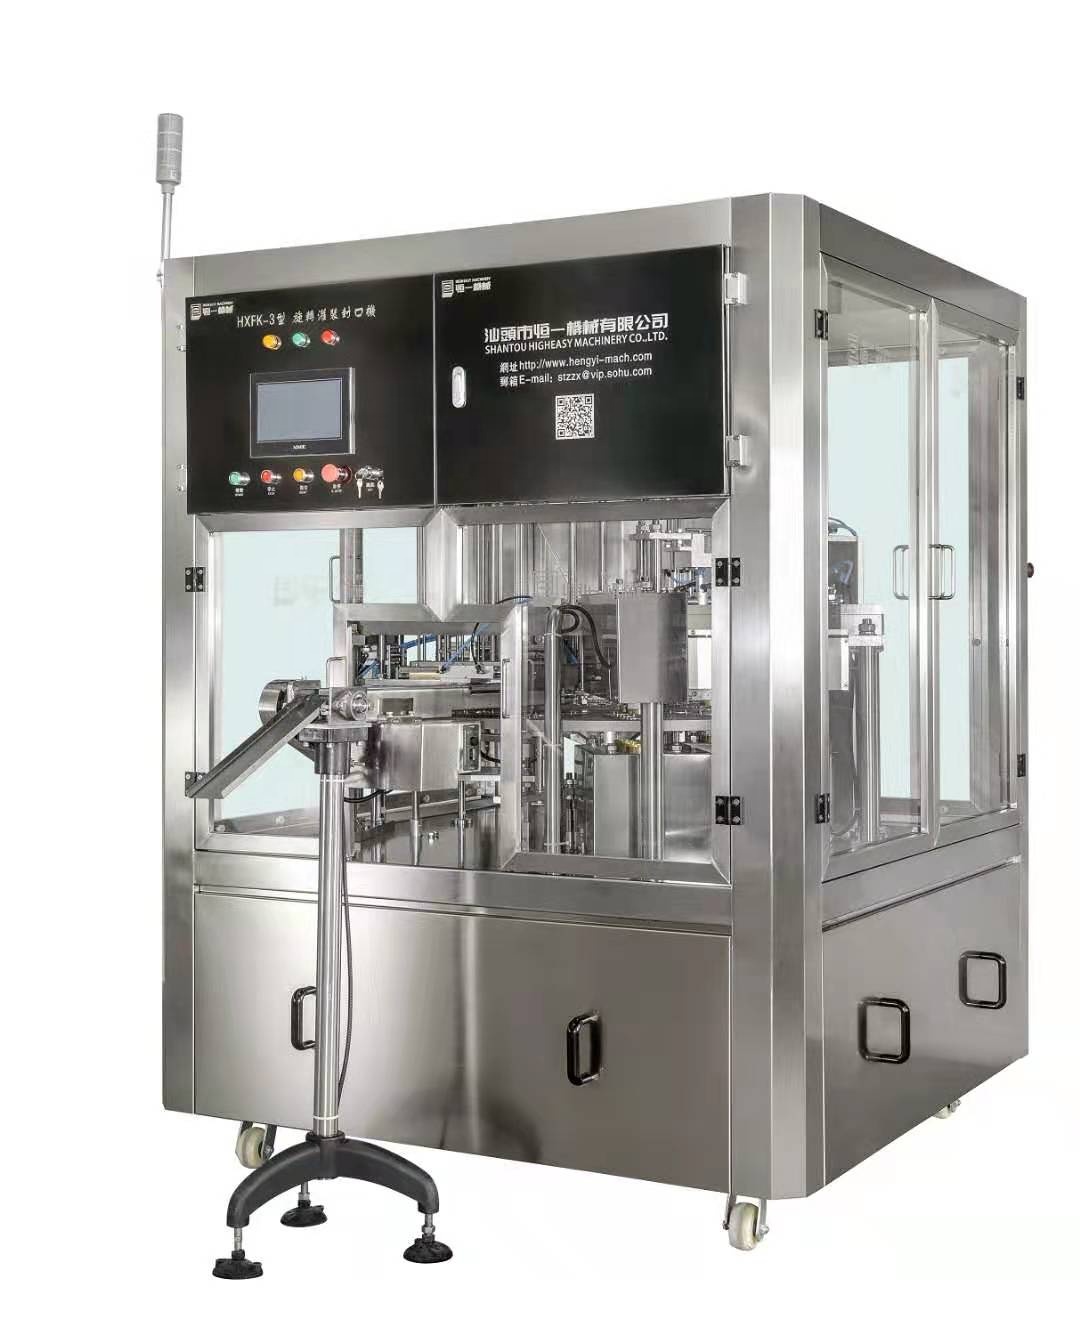
Recognize Seal Failure Symptoms and Root Causes
Seal defects on a cup filling sealing machine rarely appear without warning. Early signs include product weeping at the rim, lifted or wrinkled lidding film, uneven seal width, and discolored or brittle sealing areas. These symptoms usually point to controllable process variables—not material defects alone.
| Symptom | Likely root cause |
|---|---|
| Product leakage at the rim | Low sealing pressure, worn tooling, or cold seal zone |
| Wrinkled or off-center lidding film | Misaligned cup transport or incorrect film tension |
| Narrow or intermittent seal | Temperature drift, short dwell time, or low pressure |
| Burnt or brittle seal area | Overheating or excessive dwell time |
| Leaks under light squeeze | Contaminated sealing surface or material mismatch |
A quick visual and touch check often separates thermal, mechanical, and material-related failures. Early detection matters because oxygen or moisture ingress can shorten shelf life and trigger leakage complaints. Maintenance teams should note whether defects repeat on the same cavity or lane; that pattern narrows the cause quickly. This mapping helps fix the root issue instead of repeatedly adjusting the same cup filling sealing machine and losing output to rework or recalls.
Conduct Controlled Burst Testing for Quantitative Seal Integrity Assessment
Burst testing converts seal quality from visual checks into a repeatable, quantitative measurement. Pressurizing a sealed cup inside restraining plates reveals weak seals that may survive inspection but fail during transport or storage.
Standardized burst test protocol: pressure ramp rate, dwell time, and pass/fail thresholds
A consistent protocol removes operator bias and machine variability. Use internal pressurization inside restraining plates per ASTM F2054 (2023). Set the pressure ramp rate between 0.1 and 0.5 psi/s (0.7–3.4 kPa/s). Faster ramps can overstress seal bonds and create false failures. Hold the target pressure for a dwell time of at least 1.0 second to allow creep and slow-leak detection.
Define pass/fail thresholds by cup volume and material. For a standard 250 ml polypropylene cup, a pass is often a burst pressure of at least 35 kPa (5.1 psi). A result below 28 kPa indicates a weak seal. Record the failure mode: flange separation, film rupture, or material tear. The following table lists typical thresholds for common cup formats.
| Cup format | Ramp rate | Dwell time | Pass threshold | Fail action |
|---|---|---|---|---|
| 200–300 ml PP cup | 0.2–0.5 psi/s | 1.0 s | ≥ 35 kPa | Sort and revalidate sealer temperature |
| 400–500 ml PET cup | 0.2–0.4 psi/s | 1.5 s | ≥ 30 kPa | Check die alignment and sealing pressure |
| 100–150 ml HDPE cup | 0.1–0.3 psi/s | 1.0 s | ≥ 25 kPa | Inspect lidding film and seal jaw wear |
Correlating burst test results with real-world cup filling sealing machine failures (12 OEM case studies, 2022–2024)
Across 12 OEM case studies from 2022 to 2024, field leakage complaints increased sharply when burst pressure variance exceeded 12% within a production batch. In four cases, machines with worn sealing jaws passed visual checks but failed burst tests at 18–22 kPa—well below the required 30 kPa minimum. After maintenance, burst pressure recovered to 34–38 kPa and customer returns dropped by roughly half.
Another recurring cause was product splash contaminating the cup flange, causing intermittent weak seals that only burst testing caught reliably. Operators who sampled five cups per hour per lane identified drift earlier than those testing only at startup. This quantitative link confirms that routine burst testing should be part of every cup filling sealing machine validation and changeover procedure.
Verify Critical Thermal Parameters in the Cup Filling Sealing Machine
Seal quality depends on temperature, pressure, and dwell time acting together. If actual seal-zone temperature drifts from the setpoint, film may not reach its softening point—or may degrade. Operators should verify thermal parameters at startup and during long runs. Use calibrated thermocouples placed within 5 mm of the seal surface. Record baseline readings and compare them with historical data to detect drift early.
Measuring actual seal-zone temperature vs. setpoint drift using calibrated thermocouples
Measure the seal-zone temperature directly—not the heater block temperature. A calibrated thermocouple in contact with the sealing face gives the true value. A 2°C gap between inner and outer sealing positions can appear within minutes of startup, especially on multi-station systems. Check each sealing head separately because wiring resistance and airflow differences cause uneven drift. Compare the displayed controller value with the thermocouple reading. If the difference exceeds ±2°C, investigate before production continues. Replace aging thermocouples and heating elements on a scheduled basis. Recalibrate thermocouples quarterly and inspect heating surfaces for coating buildup. Log temperature data for every seal cycle to create auditable trend records—supporting ISO 22000 critical control point monitoring and helping prevent weak or scorched seals.
Implement Multi-Method Seal Verification for Robust Quality Control
A single seal test often misses intermittent or product-specific defects. For a cup filling sealing machine, combining complementary verification methods improves detection across leak sizes and failure modes. The three most practical options for cup seals are dye penetration, vacuum decay, and helium leak testing.
Comparing sensitivity and practicality of dye penetration, vacuum decay, and helium leak testing for cup seals
| Method | Sensitivity | Practicality |
|---|---|---|
| Dye penetration | Low; detects gross leak channels visually | Very high; low cost, destructive |
| Vacuum decay | Medium; quantitative pressure rise | High; non-destructive, automatable |
| Helium leak testing | High; trace gas detection | Lower; higher cost, longer cycle |
Dye penetration is useful for locating suspected seal channels but cannot quantify leak rate. Vacuum decay gives objective pass/fail data and suits routine lot release. Helium leak testing is reserved for high-risk products or validation when maximum sensitivity is required. Using at least two methods—for example, vacuum decay for regular monitoring and dye penetration for defect localization—builds robust quality control without excessive cost.
FAQ
What are early signs of seal failure in cup filling sealing machines?
Early signs include product leakage at the rim, lifted or wrinkled lidding film, uneven seal width, and discolored or brittle sealing areas.
How does burst testing assess seal integrity?
Burst testing evaluates seal integrity by pressurizing a sealed cup inside restraining plates and measuring the burst pressure, which reveals weak seals that might fail during transport or storage.
What thermal parameters should operators verify in sealing machines?
Operators should verify actual seal-zone temperature using calibrated thermocouples and confirm there is no drift between the displayed controller value and thermocouple readings.
What are the three main seal verification methods?
The three methods are dye penetration (for gross leaks), vacuum decay (for quantitative pressure rise), and helium leak testing (for high sensitivity).
Why is routine seal testing important?
Regular testing helps detect seal quality drift early, avoids leakage complaints, and ensures robust quality control across production batches.